So, I am in the process of making a bespoke cat o’nine tails, and I thought I’d share what I’m doing, since I’m doing a few things differently than I have in the past, and too, I’m using this build to do a little practice on a more involved bit of spiral plaiting than I’ve done to date. Two people I need to mention and must humbly thank right off the bat are my friend and colleague zjuuleke over in the Netherlands, for her stellar talent and endless kindness in sharing her knowledge and support, and too, Peter Thorndike, for being willing to allow me to “borrow” bits of some of his designs that I thought I might incorporate with some of my own ideas.
In the past, I’ve made the tails separately from the handle of a cat, and attached them inside the core of the handle. That works, but it’s really super hard to get the tail end of your handle smoooooth, and I’m a stickler for such things. So, with this cat, I decided to take a stab at plaiting the tails continuous with the lace used to plait the handle. THAT meant I needed to redesign how I built the core, first of all.
This is the prototype I came up with.

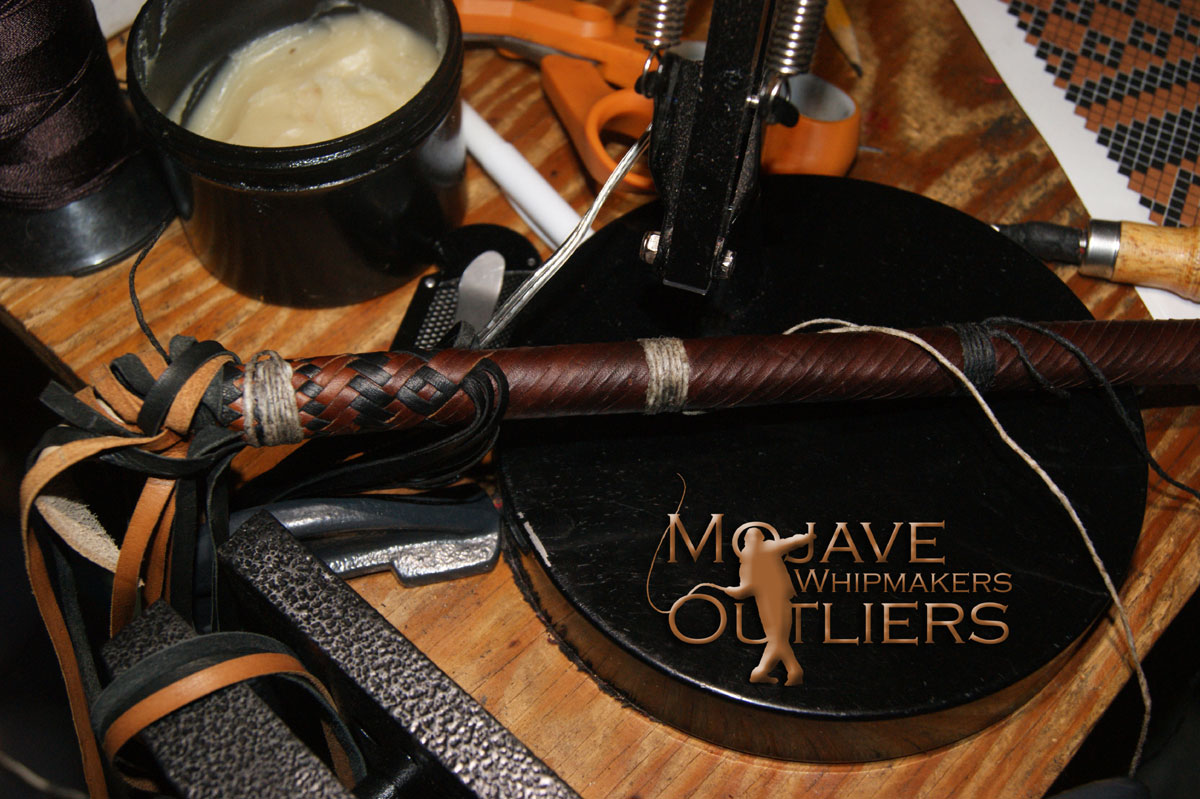
Since I decided I needed at least one plaited belly, that meant I needed to create room for it, so, I built a shot bag and bolster as if I was going to build an (American) style whip, and then bound that end to end to help stiffen it. zjuuleke’s advice after I did that was to go ahead and make strands that come off the bolster, so you can use that for a center tail–I’ll try that next time! In the meantime, after I created the core, I created strands that at one end were tapered to precisely fit the handle (and this is at 12 plait with no drops), and at the other, were cut, sized and beveled for plaiting the tails. Then I plaited it out, using this belly to practice for the oncoming overlay. And what I mean by “practice” is when you’re going to spiral plait something, you need to plan for a little extra lace so that you have enough length to finish the plaiting, as you’re using Perma Lok needles. Hence the extra lace at the heel end of the handle. Worked beautifully, as you can see: seams straight, the lace fits neatly the entire length of the handle, including at the narrow end where it is common to find bunching because the strands are too wide for the diameter at the tail, and the profile is very smooth. I hated to cover it up!
But I did. I bound the handle again from end to end, to stiffen it still more. Alas, I don’t have a pic of that part, I was busy and I forgot!
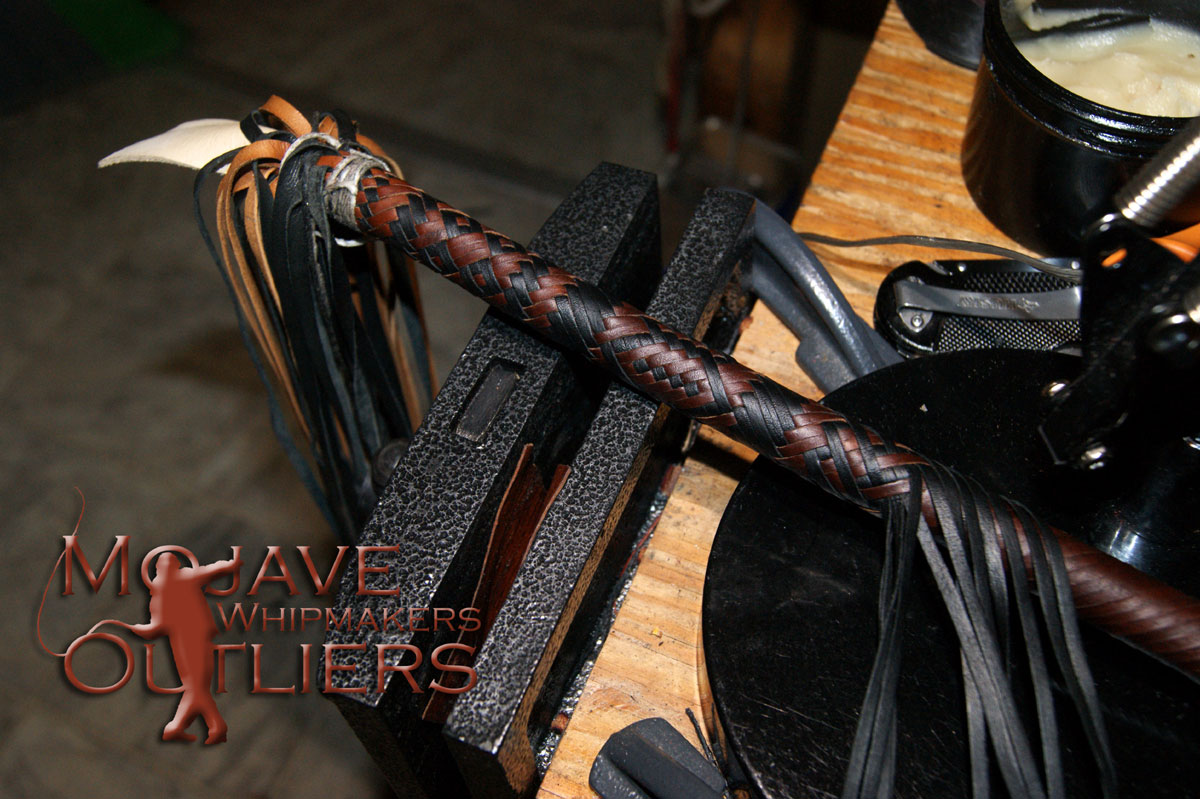
Then, the overlay lace. It’s a LOT OF LEATHER! This will be 24 plait.
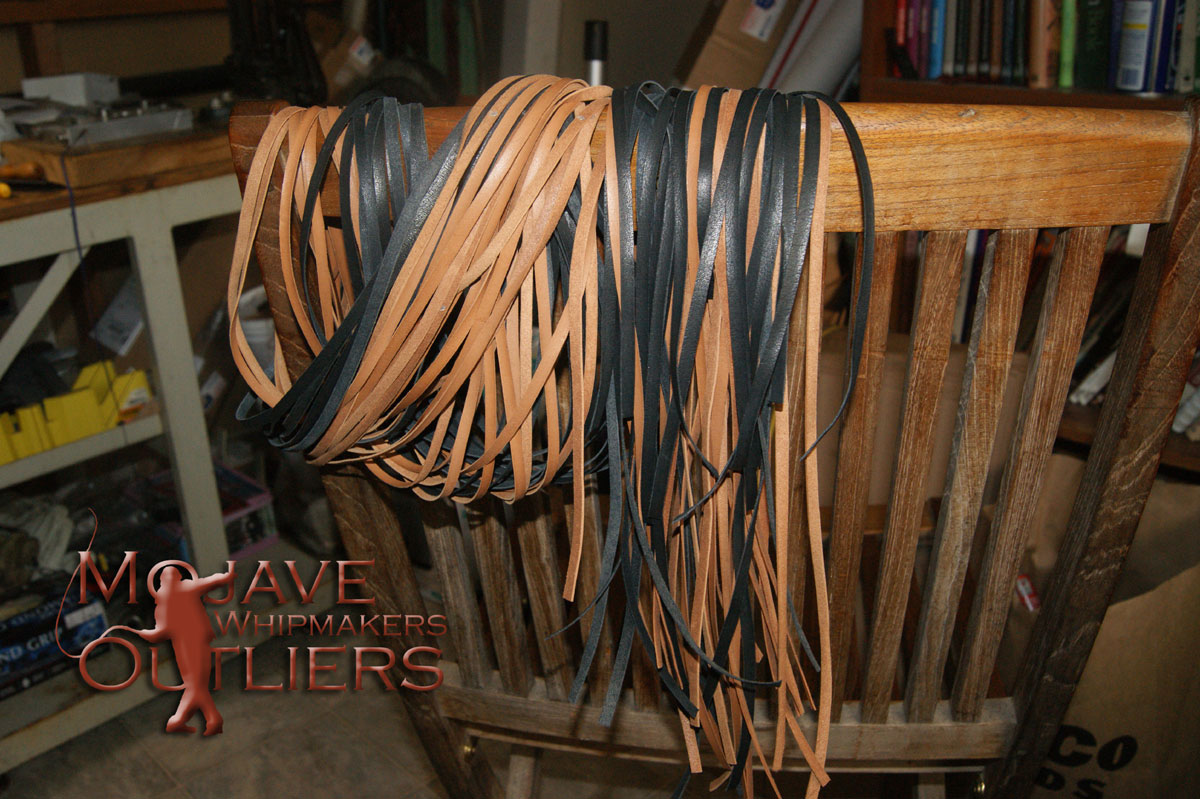
Which is part of the reason Cats can be so expensive. Anyway, I cut enough lace for both the handle and the rest of the tails, at about 1 mm wider than I needed. Then I tapered the handle ends to fit the handle, based on what I’d learned by doing the belly. Since it IS 24 plait, the tapering was very slight, but since I’m doing a 20″ spiral plait from end to end, again, I needed a precise fit, because otherwise the spiral pattern will be messy (it might be messy anyway, but we’ll see). Then I trimmed and beveled the tail ends to match the belly lace.
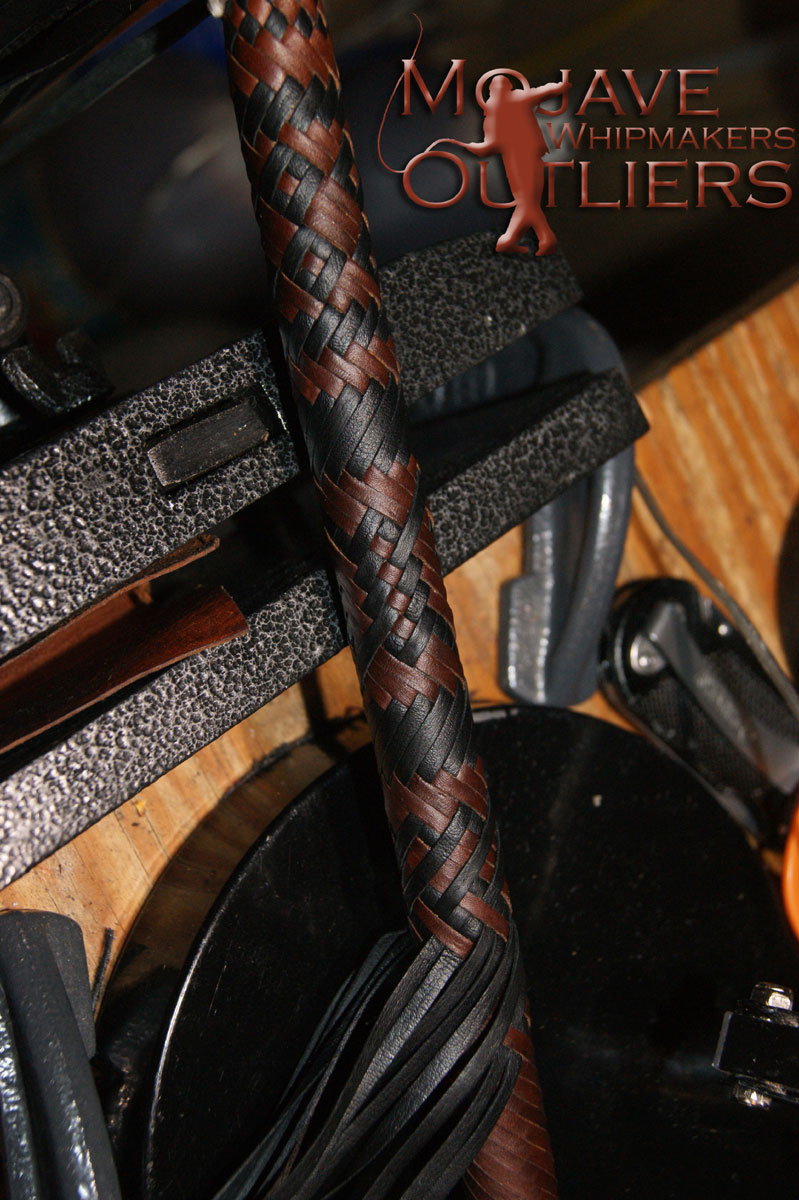
Now, I realize not everyone does this, but I find it works very well for spiral plaiting, which is that I go ahead and plait out the piece using regular herringbone, making sure I get it as tight and straight as I possibly can. Here’s the result:
That is some tediously exacting work, each strand placed carefully and then checked one by one to make sure they’re positioned properly, with as little variation as possible. Even so, this is a lot more precise than wrapping half the strands around the handle and then interweaving the other half, especially on a tapered handle with tapered strands–takes out most of the guess work that wrapping entails, and any stretch left in the lace is dealt with BEFORE any spiral plaiting is done.
It matters exceedingly how you make the lace to start with, but I’m not going to get into that here.
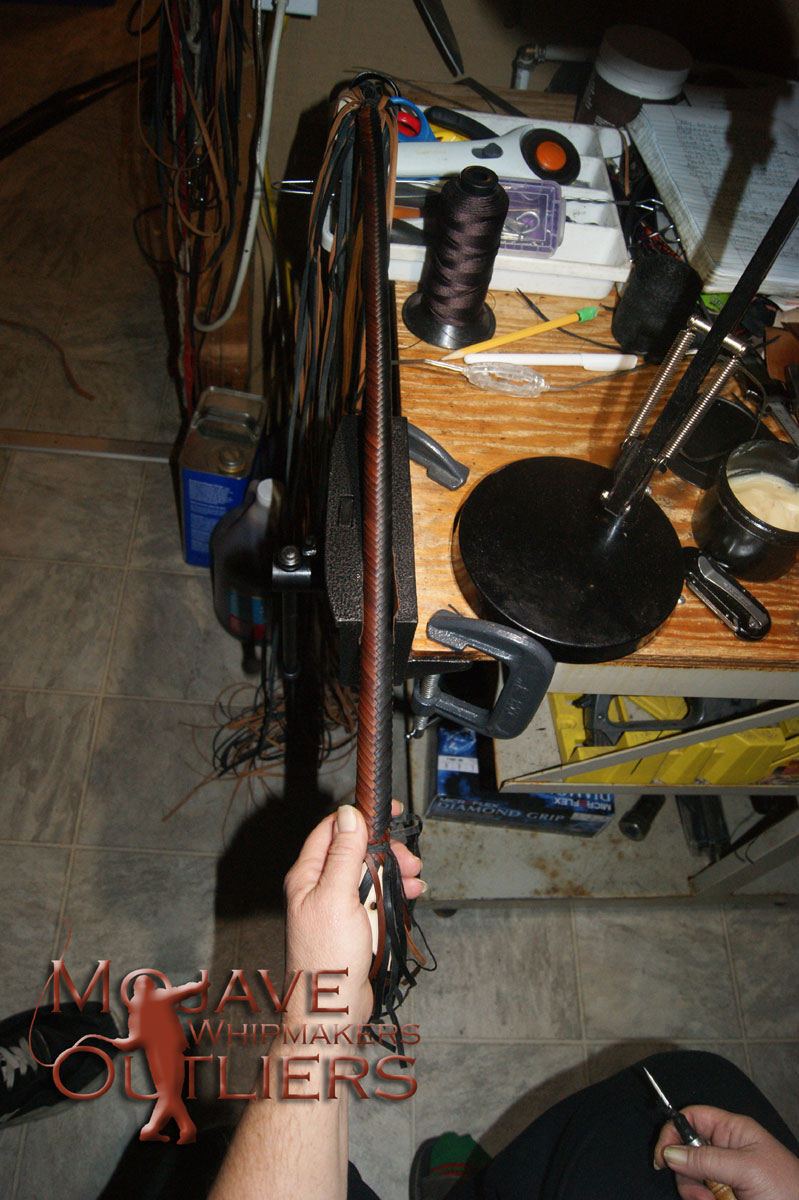
Next, starting the spiral plait:
As you can see, I’ve pulled all the black strands out, and restarted them using the spiral method with Perma Lok needles. Looks like a scary mess, eh? Well, it IS!! lol! But that’s mainly because since I’m plaiting the handle backwards from the tail to the heel, you can see all the so far not plaited lace that will eventually become the tails. So it kinda looks worse than it is. In any case, I like to start spirals with diamond plait, because that helps securely set the strands, and you can get an idea of the right angle of lace. I also decided to go ahead and secure the base strands so they don’t move around as much as I’m spiraling, even though they’re in position to start with. That’s what those bands of waxed nylon are for.
This is another pic of the start, after I’ve plaited a little more of the pattern. There really isn’t a trick to doing this. Instead, you just have to commit to being patient, and to being as perfectionist as you can stand without beheading your entire family and burning down the town in a maelstrom of frustration and hatred of physics.
You’ll note that I secured the top end of the plaiting over the diamond spiral I just did, to keep the strands tight from that end.
This is a little further down, past the first binding at the start of the box weave.
The idea is to do short sections at a time, and then “true” the strands with the plaiting above it, granted you kinda START by truing it. What I often do is take the 3 or 4 strands ahead of the one I’m going to work and lay them out against the thong and hold them in place, and then use them as a guide as I work the first strand of the next section of pattern. Then I use that strand to guide the next, etc., always being careful not to plait too far down the thong at any one time. Then when I get all 12 strands plaited, I go back and adjust as needed.
Here’s another view, about 1/4 turn to the left.
Again, I’ll roll this good and proper once I’ve finished the plaiting, so a lot of the differences in strand height will be blended down. …hopefully…lol!
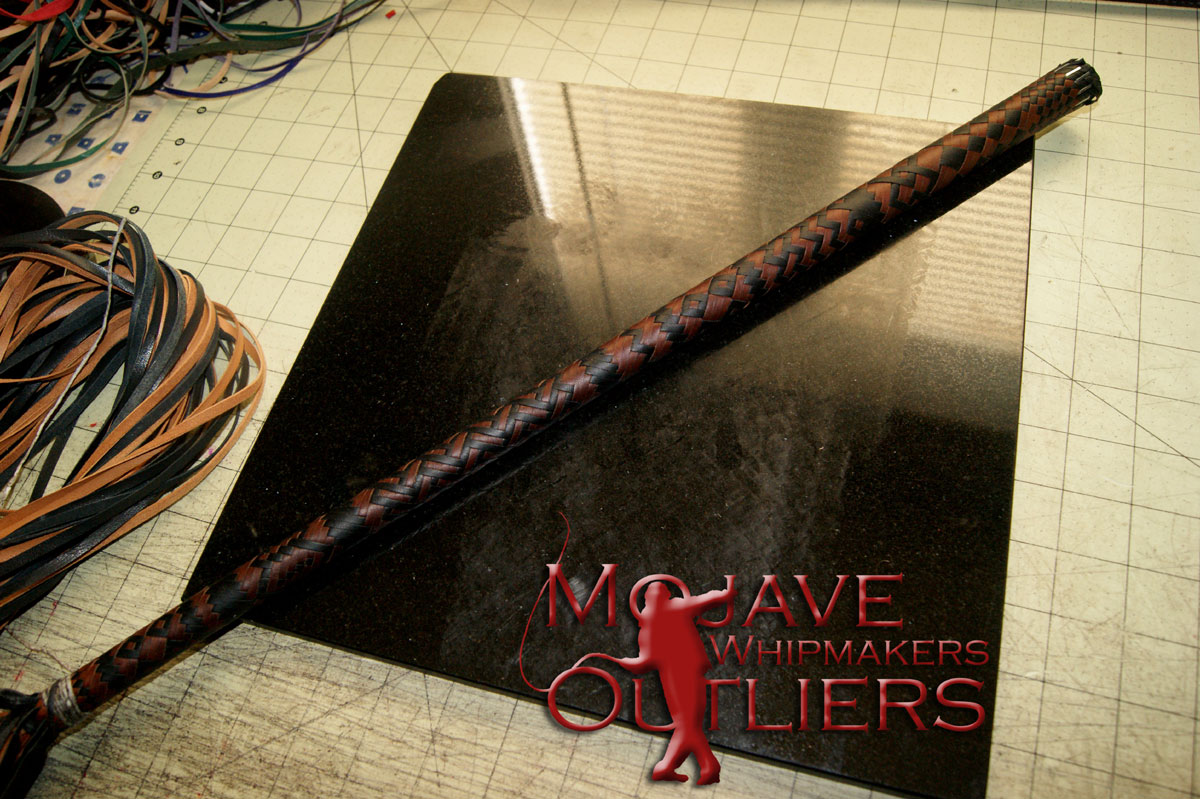
Okay, below is the completed spiral plait on the handle, including having rolled it. This is the outdoor shot:

There are a few things I might do differently next time, like maybe doing a bit wider bevel on the strands so they lie (even) flatter, but I think I did pretty well even so, especially considering I was plaiting directly on top of the final binding.
Here’s an indoor shot:
Not quite one of my haunting pics, but I can see I’ll be able to do it later once I’ve completed the tails and knots. Again, I suck at taking photos of long skinny things. Anyway, at the moment my brain is yelling “Yer not the boss of me!” so if you have questions, feel free to ask, rather than me trying to anticipate…and Ima eat some pizza and maybe take a short nap! lol!
Okay, coming down the home stretch:
The tail knot, which is a nice clean black pineapple knot, gathering the nine 4 plait round braids of the tails neatly. And, a little something extra on the tails themselves…

I decided to play a little, and also experiment. Remember that kinda boxy knot you’ve seen on the Zenith whips? These are the same thing, and after much research and having the dumb blind luck to happen upon a copy of The Ashley Book of Knots for a pittance at $25 smackers at the local second hand book store, I can finally offer the ACTUAL NAME OF THE KNOT! These are called Sinnet Knots of 4 Strands with Alternating Left and Right Crowns. You got that? Think you can find it in Bruce Grant’s Monster Book of Monsters? You might shorten it to 4 strand sinnet crown knot. BUT! The left and right bit matter, because that’s how you get the boxy look. Anyway, I BY GOD TRACKED THAT BUGGER DOWN!!
These are of course very tiny, but I like how they worked out, so I did them all like that.
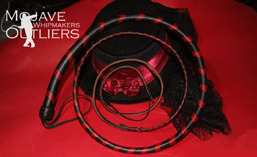
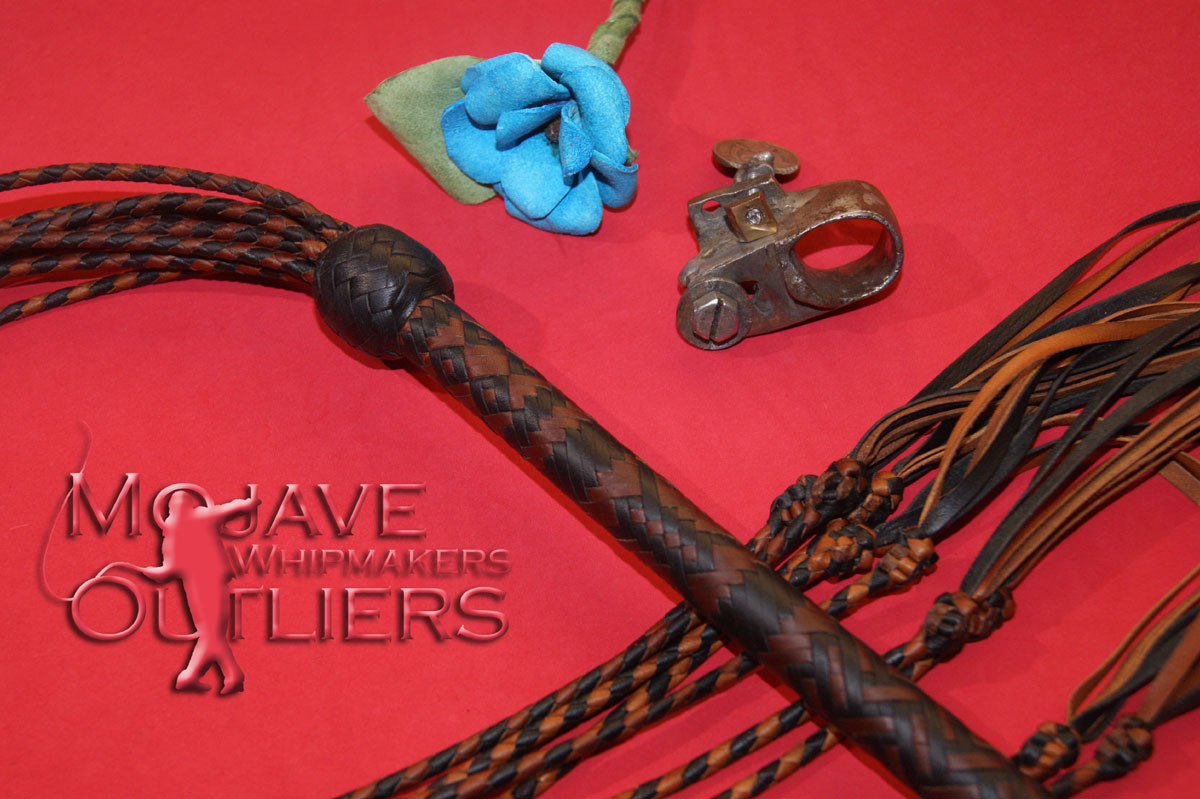
AND DONE! Below is the completed Cat.
Worked out pretty well, if I say so myself! Which I just did… 😉
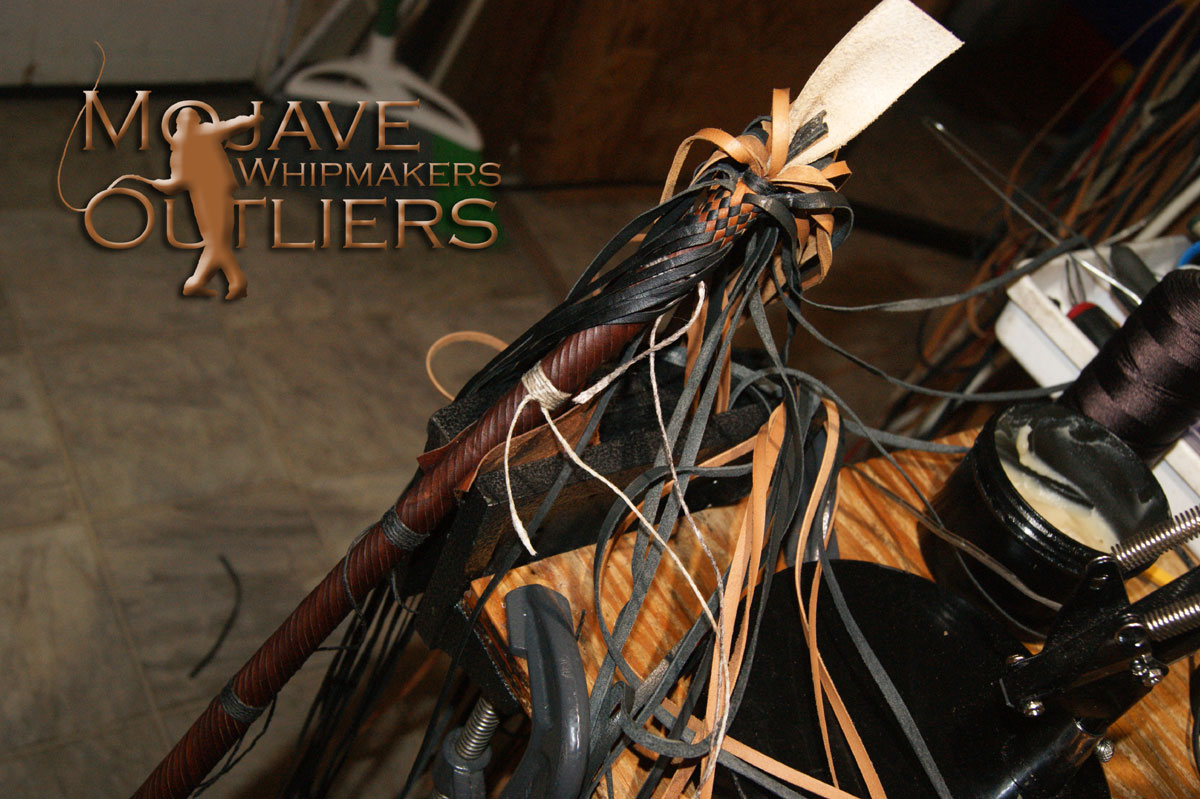
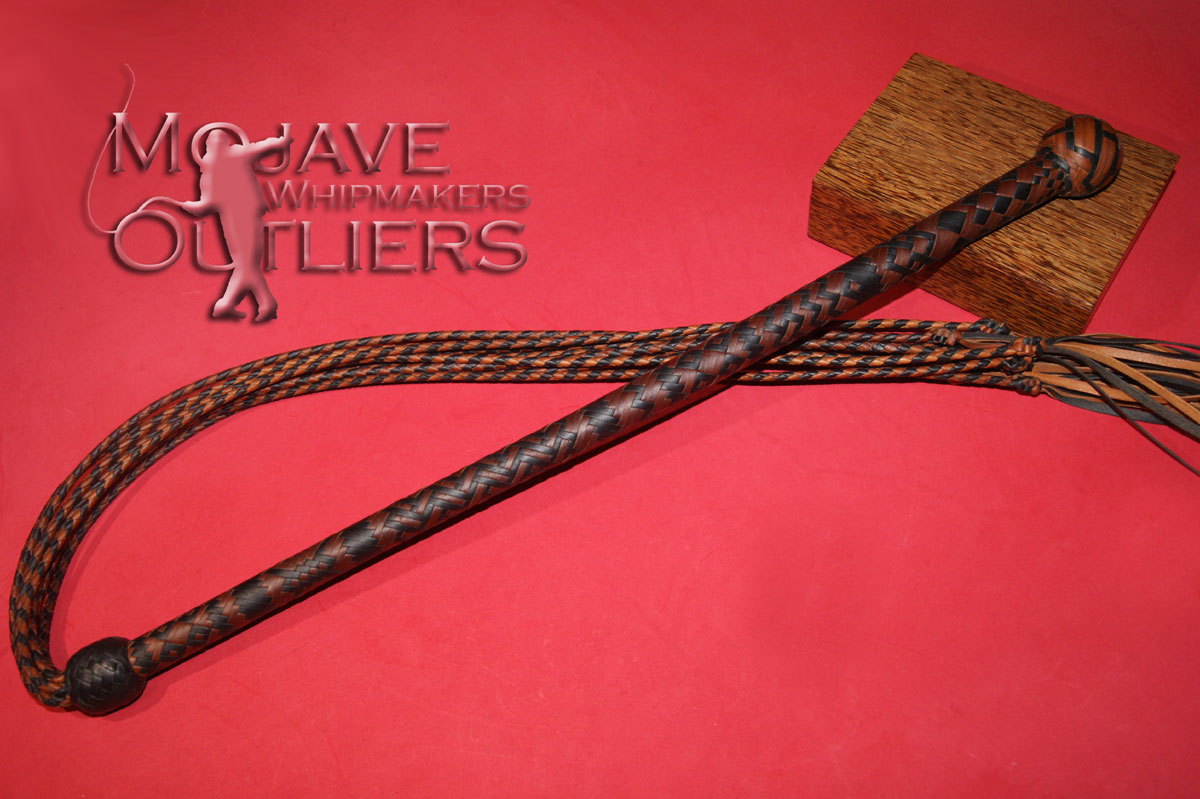
Here’s a detail of the heel knot, and I’m proud of myself for sticking with my original plan to do a box knot instead of caving and going with a regular pineapple. The cool thing about this is it ties in with the box weave pattern on the handle (see photo above this one).

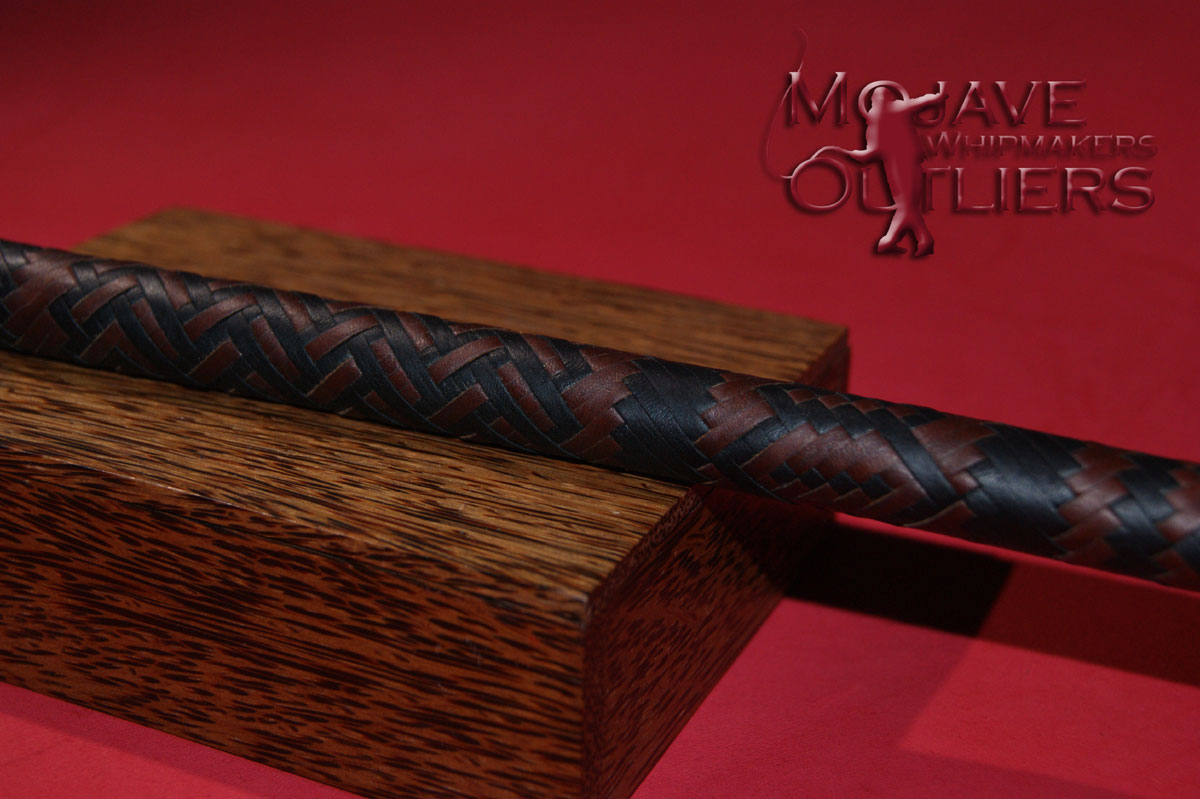
And a bonus shot, this is a detail of the box weave section of the plaiting on the handle.
Fabulous. Now on to the next miracle!
Cheers!
DM